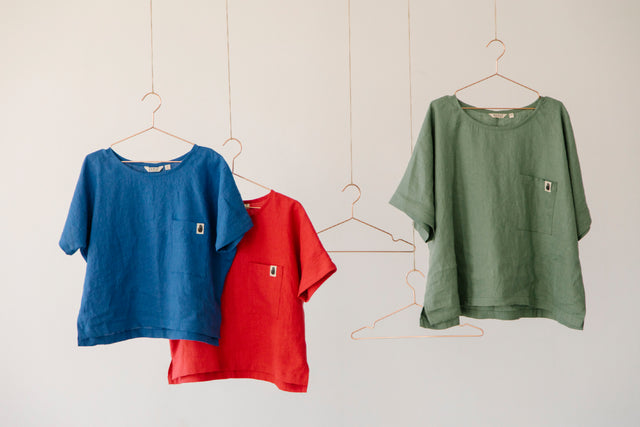
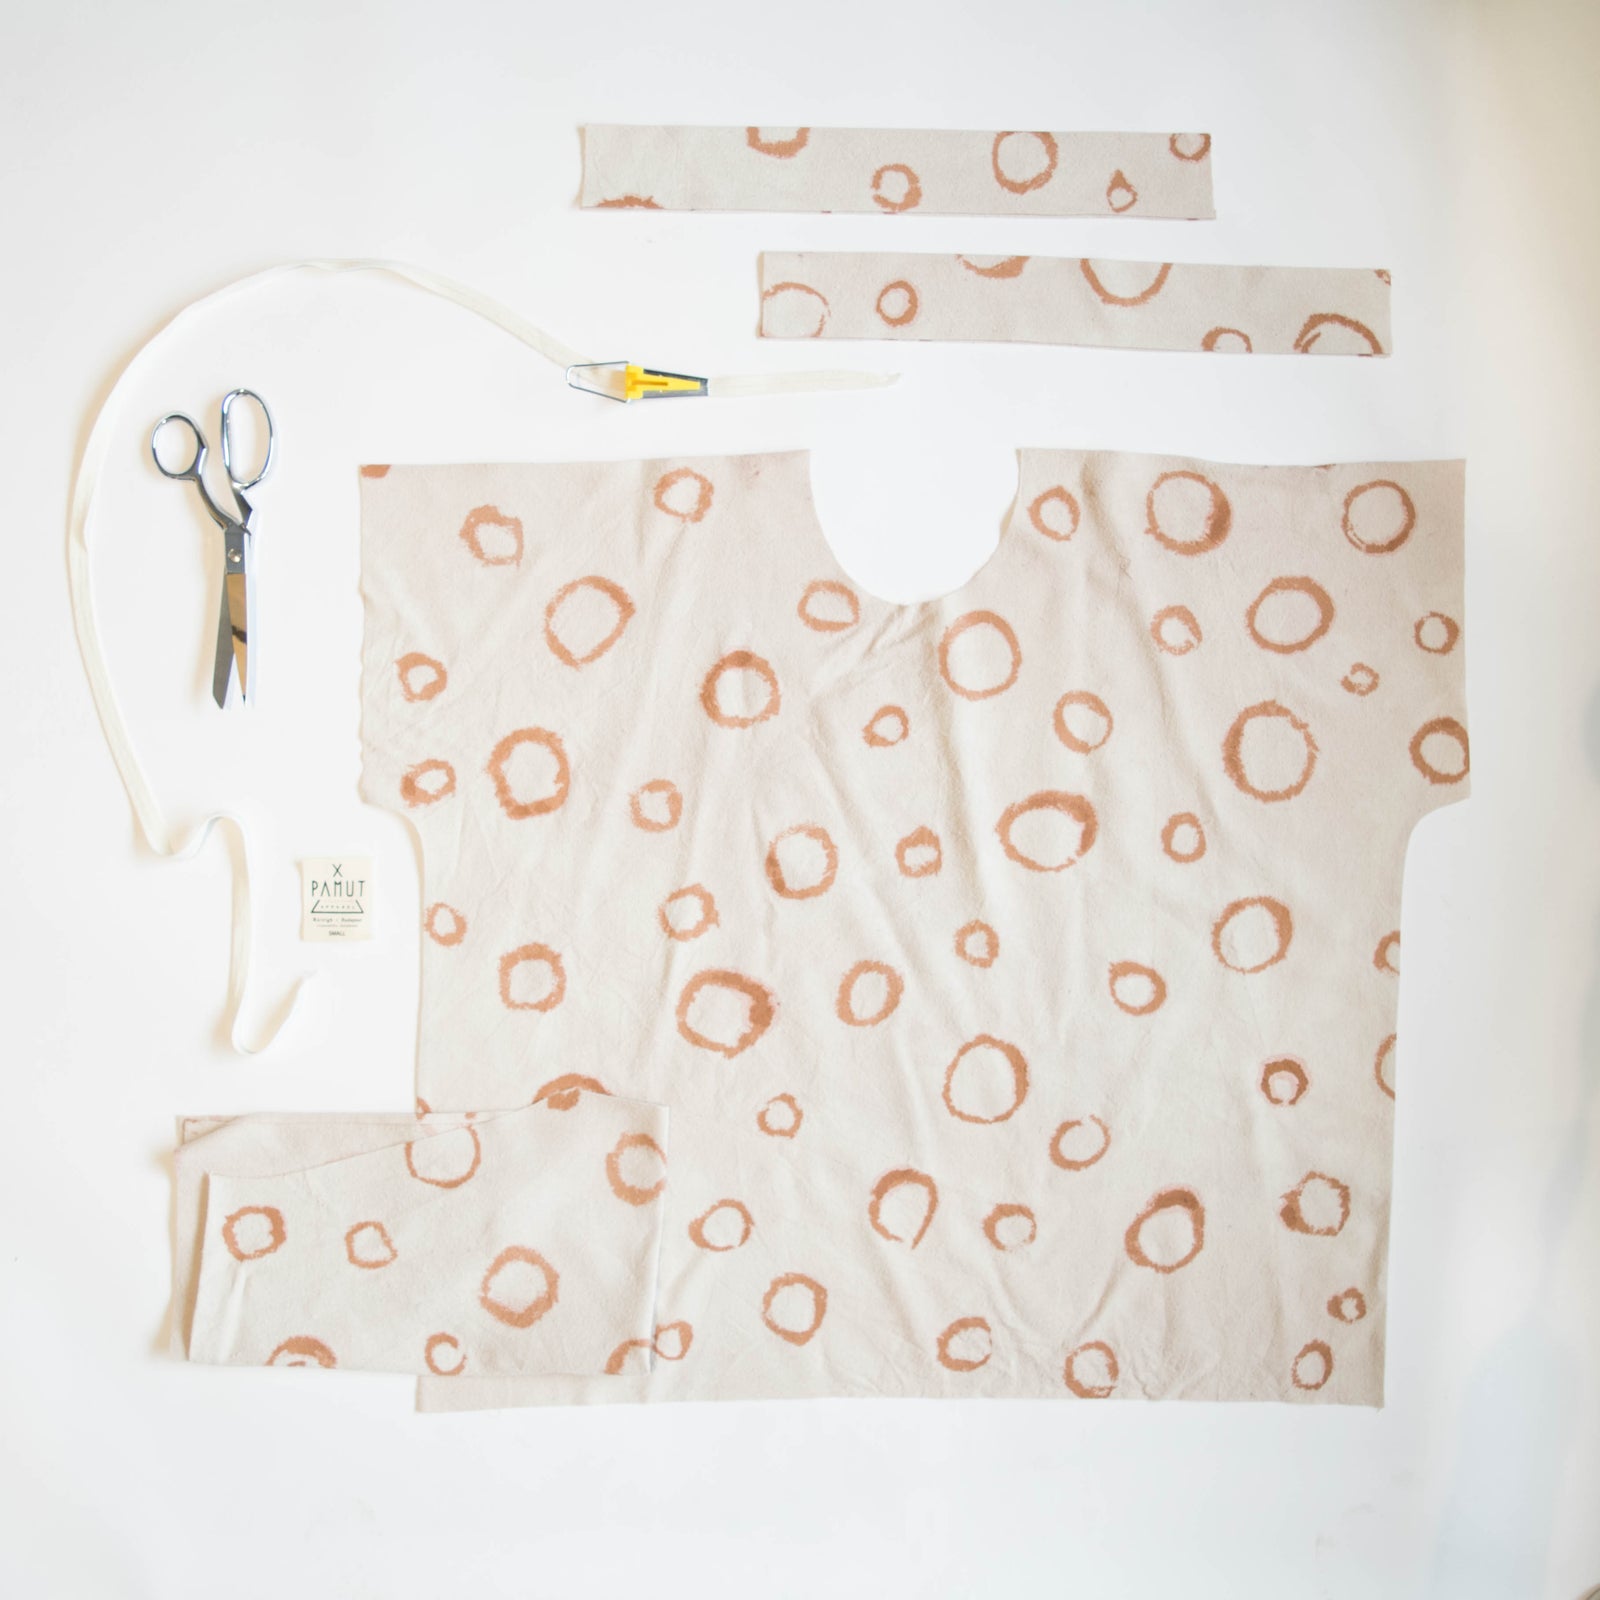
Hello sewing friends! I am so excited to share my reversible top tutorial! Here, you’ll be able to get sewing instructions as well as the PDF sewing pattern for our best-selling Pamut piece, the Hanna Top. This is a classic top pattern, made better by the fact that it is reversible (you can wear it with the V in the front or in the back). Its also very easily adjusted to suit your personal taste and body shape (you can easily lengthen or shorten the body, make the V deeper, or even add patch pockets!). In addition, this pattern looks great in a variety of fabrics. I’m demo-ing this pattern in raw silk, but you could also use a lightweight linen, cotton, or dress it up with a satin or organdy. This pattern is certainly easier with a more structured fabric, but if you are a more experienced sewer you can use something with more drape.
What you need:
-Our PDF sewing pattern here (available in XS-3XL), downloaded and printed
-1.75 yds of your chosen fabric (46” wide or more), prewashed and shrunk. OR fabric from two Maker's Bundles, pieced together however you like them to form a panel.
-Matching thread
-A 1/2” bias tape maker (not required, but this is a great sewing tool that you’ll use again and again!)
*If you like raw silk, I would highly recommend Dharma Trading’s version. It is affordable, drapey, and comes in both natural and black! I bought their natural color and dyed it using avocado dye, and then hand painted it with abstract circles before cutting and sewing.

What to cut from your fabric:
1: Cut out all pattern pieces:
-two front body panels
-one back body panel
-two sleeve cuffs
-one bias cut strip of fabric for the neck binding, 30” x 1 1/8” (this piece MUST be cut at a 45 degree angle from the grain of the fabric so that it curves gracefully around the neck. (Here are two great tutorials on making bias strips and bias tape:
https://www.youtube.com/watch?v=jXvLAHWbyXo
https://www.youtube.com/watch?v=Pu26wtOj4SM
Sewing Instructions:
2. Make your bias tape.
Use the above tutorials if you haven’t make this tape before. You can use the handy bias tape maker in the photograph (from Clover), or you can fold it by hand, although it won’t look quite as clean. You can also use a contrasting bias tape in a different color or fabric for added interest in the finished piece.

3. Press sleeve cuffs
After you’ve made your bias tape, go ahead and press your sleeve cuffs as shown in the photo. Press both long edges in 3/8”, then fold in half and press. It will help you later on if, when you fold the panels in half, you let one side overlap 1/8” instead of having the edges meet perfectly.

4. Serge edges
Serge or zigzag over the shoulder and side edges of the front and back bodies (no need to do the center edges of the front body) to prevent fraying. Press the shoulder, side, and center front edges back toward the wrong side of the fabric 1/4”.

5. Topstitch for a clean interior finish
Topstitch down the shoulder and side edges at 1/8” (but not the center front seams). I’ve added my Pamut tag in the side edge during this step. This will give you a beautiful clean finish on the inside of your garment, and will allow you to execute the side slits later without having to cut your fabric.

6. Shoulder seams
Sew together your shoulder seams at 3/8” and press open.

7. Neck binding part 1
Time to sew in your neck binding! Open up one of the pressed edges of the binding and, starting from the center v of the front body, stitch the neck binding to the right side of the fabric all the way around the neck. The binding will be longer than the actual length of the neck. Leave a little extra binding at the front V before you start stitching, and you’ll have extra at the finishing end too (about 1” on each side). Because the V is cut at a diagonal, you’ll need that binding to be a little longer.

8. Neck binding part 2
Press the binding over to the wrong side of the garment neck and topstitch it down. Try not to pull on the neck during this step. Because the binding is cut on the bias, it will be very flexible and should easily form to the shape of the curved neck.

9. Side seams
Sew together your side seams at 3/8”, stopping and backtacking at the notch for the side slits, and press open.

10. Close the cuffs
Stitch the short edges of your sleeve cuffs together at 1/4”. Flip them to form a circle and press the seam you just stitched (Keep in mind that you’ll still want to make sure that one side overlaps the other by 1/8”. This will be key in the next few steps!)

11. Attaching the cuffs part 1
Find the “shorter” side of your sleeve cuff. This will be the exterior side, and you’ll want to flip it so the the wrong side is up, and pin it around your armhole with the seam at the bottom of the armhole. Stitch around the armhole at 3/8”

12. Attaching the cuffs part 2
Press the sleeve cuff seam allowance TOWARD the cuff all of the way around your armhole. This is very important!

13. Attaching the cuffs part 3
I rarely use pins, but during this step in our reversible top tutorial, I always use a few, especially right where the bottom of the armhole meets the front and back bodies.
You’ll want to fold your interior sleeve cuff inside the garment just over your armhole seam (this is when that extra 1/8” on the interior side comes in very handy!). Pin the interior cuff right on the seamline all the way around your armhole, making sure the interior cuff overlaps the seam by 1/8”. You’ll want to topstitch around the armhole seam from the exterior, catching the interior cuff as you stitch. I find it helpful to use my fingernail to track that interior seam, making sure I’m catching it as I stitch around.

14. Attaching the cuffs part 4
Check and make sure you’ve caught the interior cuff all of the way around the armhole! You can always stitch some sections again if you missed them!

15. Have some fun with topstitching
Now is the time to get creative! I add a second layer of topstitching on the cuff 1/4” from the seam, but you can forego this step or even add 2 or 3 lines of topstitching.

16. Stitch the center fronts together
Sew together the center front seam. You should have pressed it inwards 1/4” already, so excluding the folded part, you’ll sew it at 3/8”. (With the full length of the seam allowance, it will be 5/8”). Trim the excess from the neck binding and press this seam open (now the 1/4” that you already pressed will be folded under and hidden).

17. Topstitch the center front
From the exterior of the garment, topstitch both sides of the center front seam 1/4” in. Backstitch at the center top of the garment when you reach the neck binding stitch for a clean look.

18. Finish the side slits
Fold back the seam allowance for the side slits 3/8” and topstitch from end to end, stitching across the side seam in the center.

19. Hem the bottom edge
Turn back the bottom edge 1/4” and then 3/8” and topstitch to close.

I hope you’ve enjoyed this reversible top tutorial! If you post photos of your own Hanna Tops, all I ask is that you please tag @pamutapparel so that we can share your beautiful work.
Mentioned in this article
More stories

Welcome to Chapter 2.


