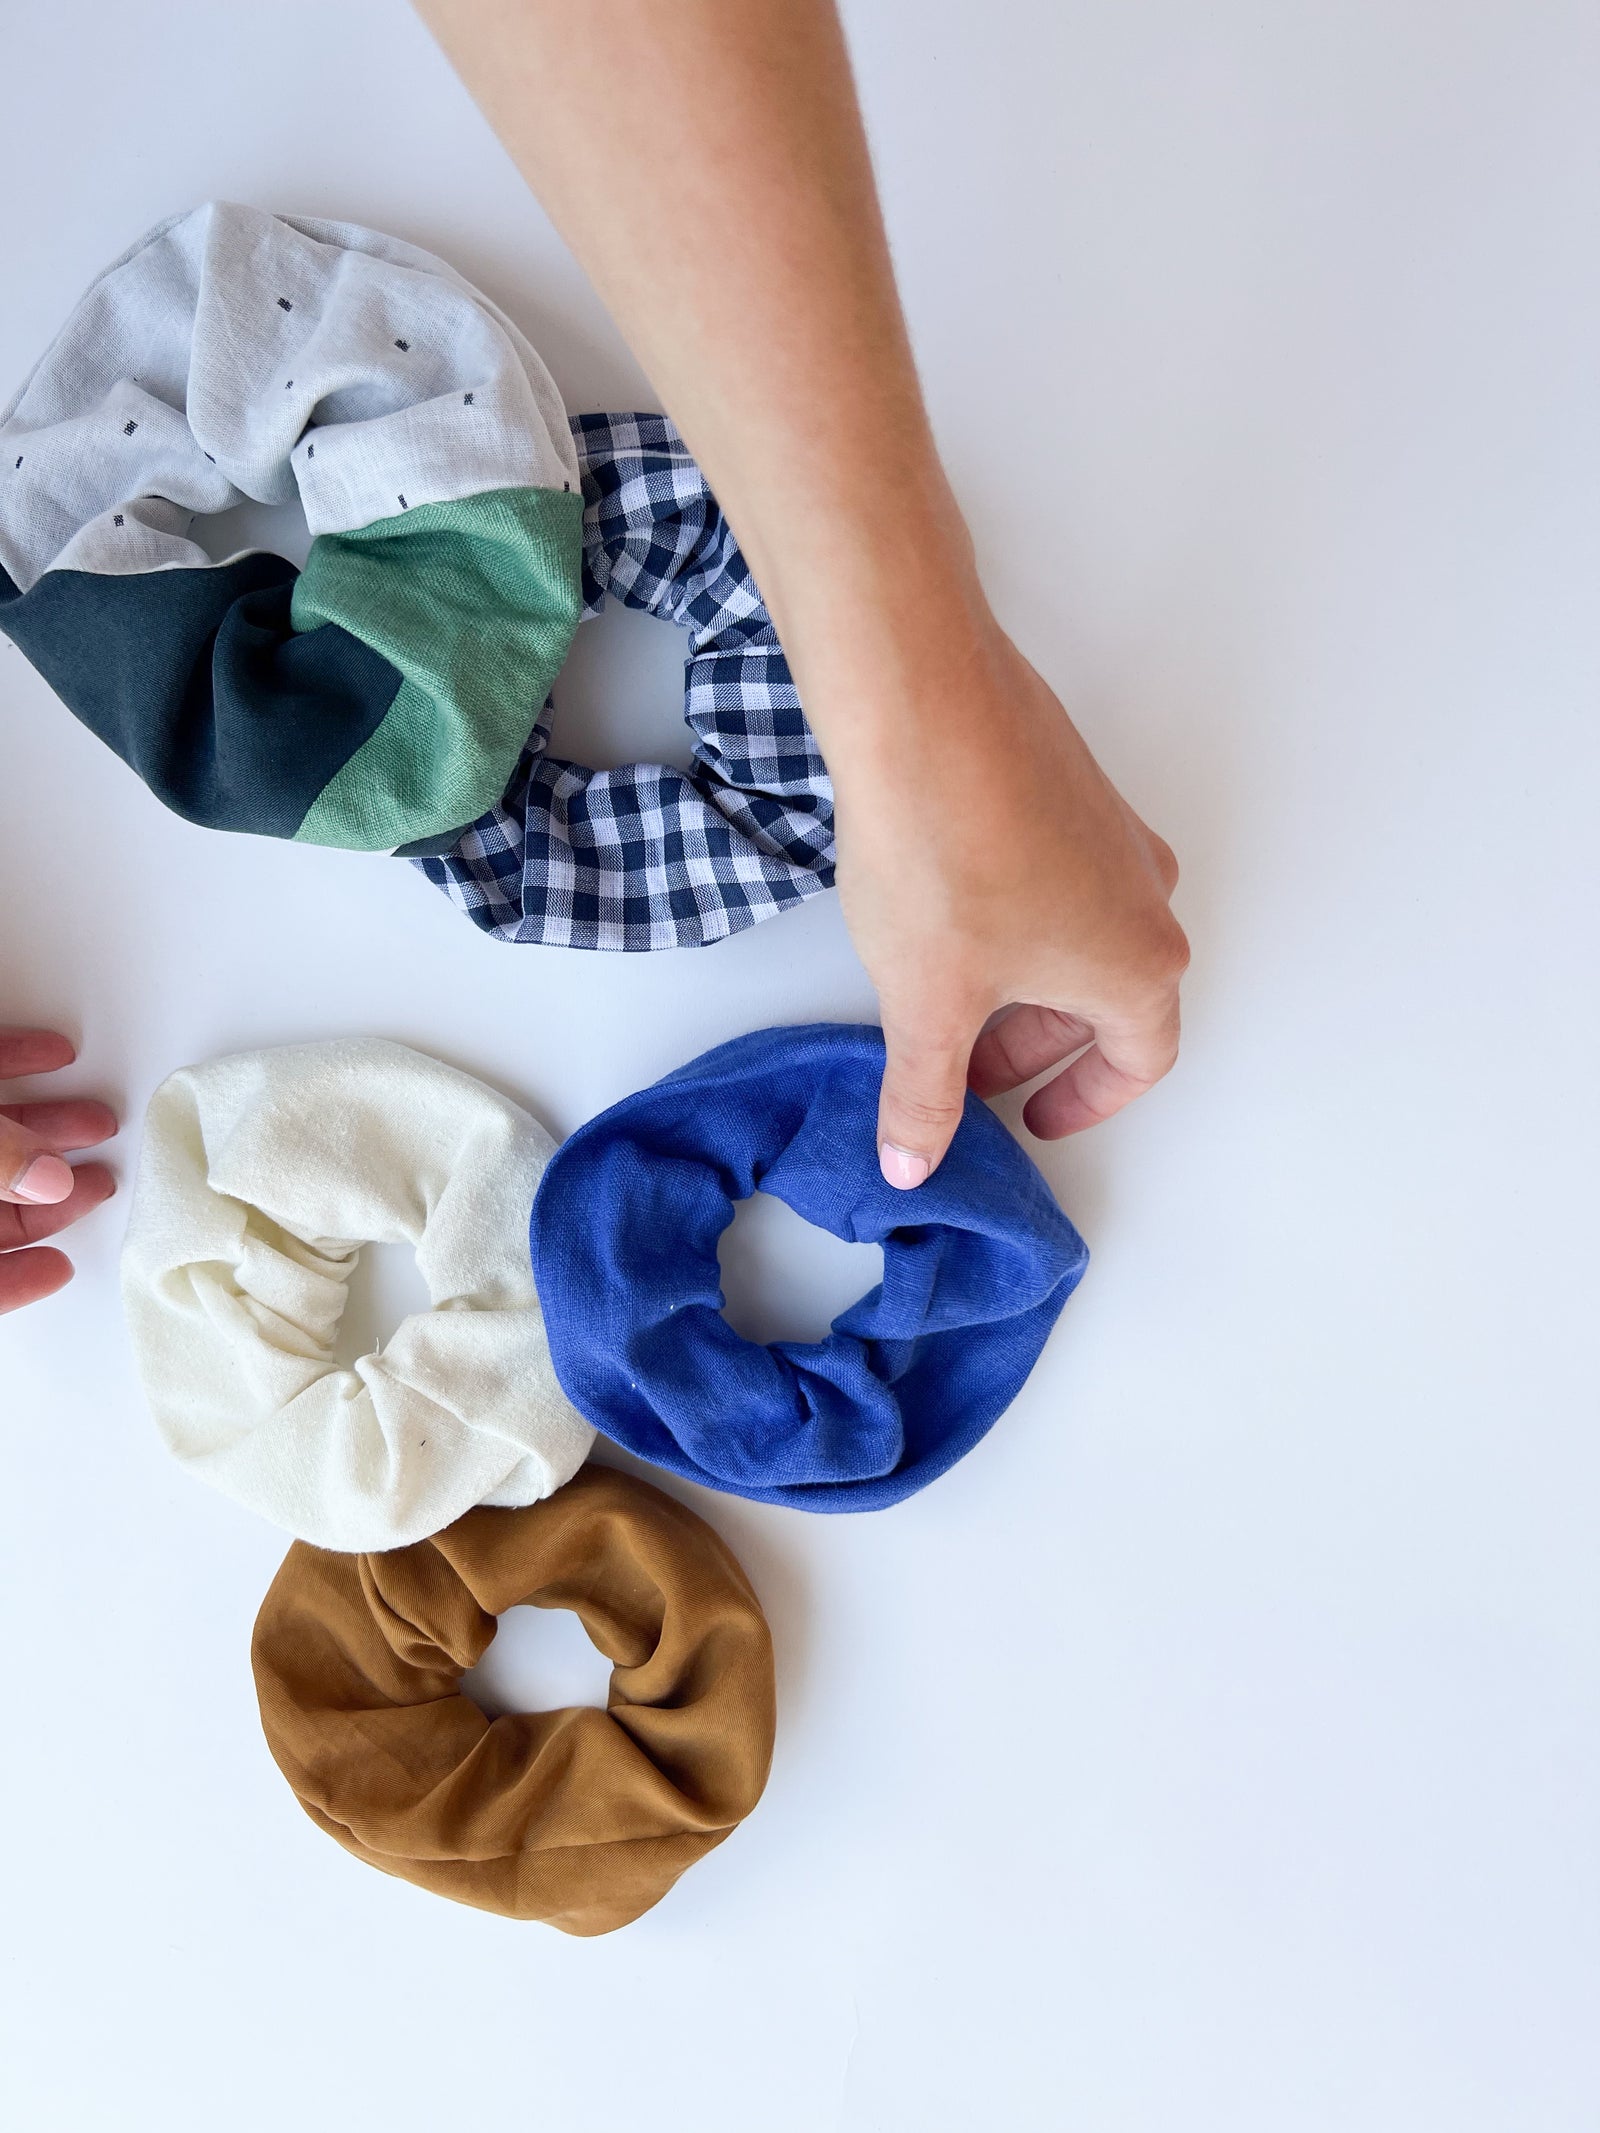
Looking for a way to use those small fabric scraps? Scrunchies are the perfect beginner project! You don't even need a sewing machine or iron to make one (though a machine will speed up the process).
Estimated Sewing/Prep Time:
With a sewing machine: 5-20 minutes
With a needle and thread: 20-35 minutes
What You'll Need:
- One 6 3/4" x 19" panel of light-midweight fabric (either pieced together or solid)
- One piece of 9" long elastic (1/8" round or flat works best)
- A safety pin
- Needle and matching thread, or your sewing machine
The Process:
Step 1: Prep the fabric

Cut out a rectangle of fabric measuring 6 3/4" x 19". You can use a ruler and a sharpie to mark the lines before you cut (you won't see the sharpie marks when you're done!). You can either cut the rectangle out from a solid fabric panel, or piece different fabrics together to form the rectangle. Either way, make sure that you're using a light-medium weight fabric.
Step 2: Sew the long ends closed

Fold the fabric panel in half longways with the wrong side facing out. Using a 3/8" seam allowance, stitch down the fabric. This will form a tube (If hand stitching, try and make the stitches no longer than 1/8").
Step 3: Fold the tube through itself

Stick the closed safety pin through one open end of the tube, pushing it through with your fingers to the other open end. Hook the safety pin to that open edge and pull it back through so that the tube is folded in half within itself (wrong side of the fabric should still be visible on the outside).
Step 4: Stitch around the circle

Place as many pins around the "circle" of the two ends as you'd like. Stitch around the circle using a 3/8" seam allowance, but leave 2" of the circle unstitched. Backtack on each side of the opening to prevent your stitches from unravelling.
Step 5: Turn the scrunchie right side out

Using your fingers, turn the fabric inside out by pushing it through the hole in the circle. You will now have a circular tube with a small hole visible (like a deflated bike tire).
Step 6: Thread the elastic

Attach one end of the elastic to the safety pin (you can knot it around, or poke a hole through the elastic if possible). Stick the safety pin through the hole and feed it around the loop, taking care that the tail end doesn't get lost inside. Your scrunchie will now begin to take it's final form! Pull the safety pin back through the hole and knot the ends of the elastic together.
Step 7: Close the hole

Fold the seam allowance of the hole inside the scrunchie. For the cleanest finish, hand stitch the hole closed with a whip stitch. Alternately, topstitch the hole closed using your sewing machine with a 1/16" seam allowance.
Mentioned in this article
More stories
SS22 Collection - What We Created